LJ: This is a report on the same work BUT better Pedal pictures in "A" and more shots of work done but not uploaded with away. See Item "G".
Once you've been here, click on the Old English Letter to go straight to those pictures.
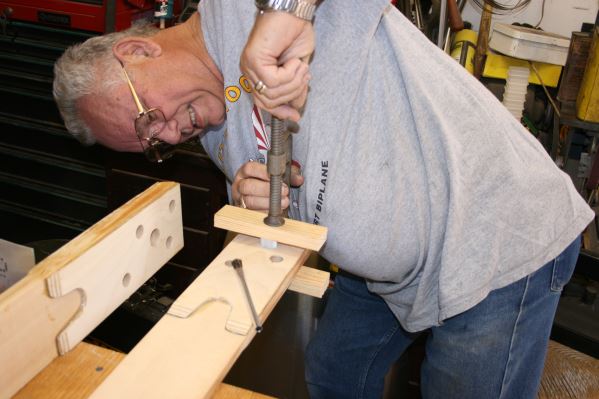
A Four Sets of Rudder Control Pedals hooked up with push rods
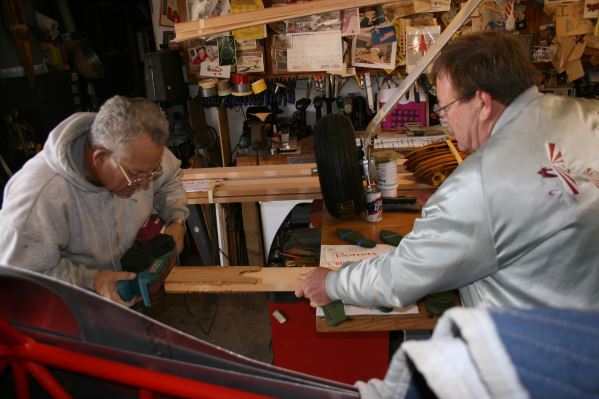
Welding up the Elevator Push Rods for the Control Sticks.
Notice the magnets holding both control sticks in the same position for welding
Rear Control Stick Fixture. This one has two control rods when finished. One for the connection of the front to the back and the second one from the back seat to elevator bell crank
B Cabane Jigs and Front Firewall Jig
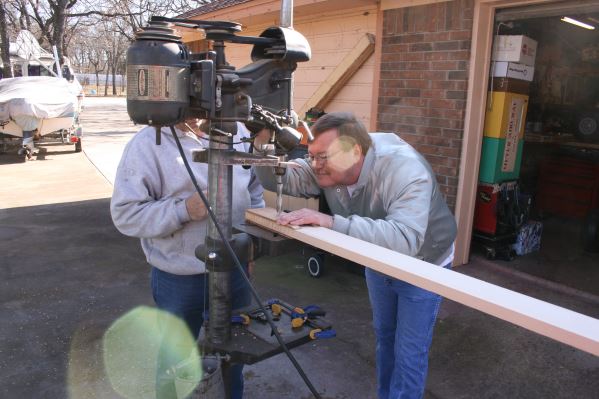
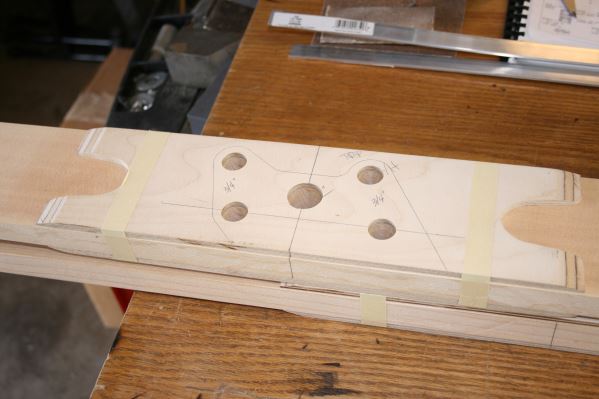
C Laying out wing fittings for the Big Toot Wings - Spar Drilling - Drilled holes in Gusset and 1" Toot Spars
D Installing Crush Plugs for top wing spar
E Grove Landing Gear Jig for setting up wheel pant mounting (Manufactured especially for Big Toot)
F Aviation Products Tail Wheel Installation on Toot
G Elevator Control Bellcrank, Aileron Control Yoke, Tie-rod connections,
Seatbelts and attachments to secure to fuselage, Parking Brake, Seatbelts, Control Sticks.
Tommy
A Four Sets of Rudder Control Pedals hooked up with push rods
B Cabane Jigs and Front Firewall Jig
C Laying out wing fittings for the Big Toot Wings - Spar Drilling - Spar Drilling
D Installing Crush Plugs for top wing spar
E Grove Landing Gear Jig for setting up wheel pant mounting (Manufactured especially for Big Toot)
F Aviation Products Tail Wheel Installation on Toot
Rear Pilot Pedal in foreground will work in unison with Forward Pilot Pedal in background
G Elevator Control Bellcrank, Aileron Control Yoke, Tie-rod connections,
Seatbelts and attachments to secure to fuselage, Parking Brake, Seatbelts, Control Sticks.
Forward Pilot Pedal with Parking Brake in background
Elevator control bell crank located under the aft seat. This bell crank receives inputs from the Elevator control sticks in cockpit one and two. In Up Position.
Aileron and Elevator control torque tube located under the two seats. Runs from the aft cockpit to the front cockpit. This bearing holds the mail aileron and elevator control Mechanism.
Front tie Rod end for the front pilots elevator control stick. Notice only one tie Rod end in place here.
Aileron control yoke. This is attached to the main torque tube and controls the Left and right Ailerons. Notice the two groves, one for each aileron.
Rear Control Stick in Max Forward Position
Forward Control Stick
The Knob of this stick was taken from the original Little Toot, N61G, so that it would continue the heritage of the Meyer's Little Toot on to Big Toot
Seatbelts and fixtures to secure belts to fuselage
A hand-set parking brake to prevent the craft from rolling once the pilot is on the ground to secure the plane. Just pull up on the top lever to set.
Aileron and Elevator Control Torque tube center bearing. This keeps the torque tube from flexing if the pilot in the rear is doing hard Acrobatics.
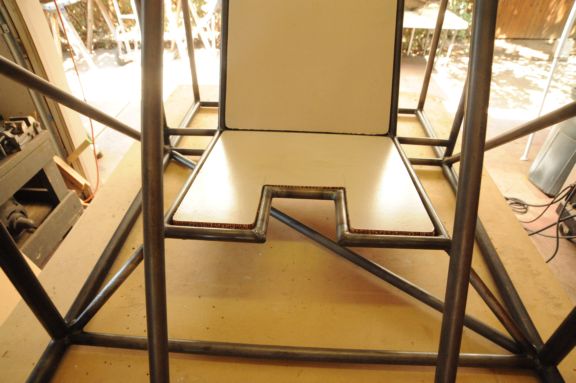
The original seat design for both front and rear pilot places. It underwent a modification. Later in the pictures, see if you can spot the change and know why.
Now, can you see what the change is in the seats and know why?
When the stick is in full pullback position, it needs clearance to bank the plane
Click here to view other years' photos:


_r.JPG)
_r.JPG)
_r.JPG)
_r.jpg)
_r.jpg)
_r.jpg)

_r.JPG)
_r.JPG)
_r.JPG)
_r.JPG)
_r.JPG)
_r.JPG)
_r.JPG)
_r.JPG)


.JPG)
.JPG)
.JPG)
_r.JPG)

.JPG)
.JPG)
.JPG)
.JPG)
.JPG)
.JPG)
.JPG)
.JPG)
.JPG)
.JPG)
.JPG)
.JPG)