A pictorial on how to fabricate certain parts of the steel fuselage yourself. Exactness is the key. Exact measurements, drawing, layout and cutting to produce identical parts.
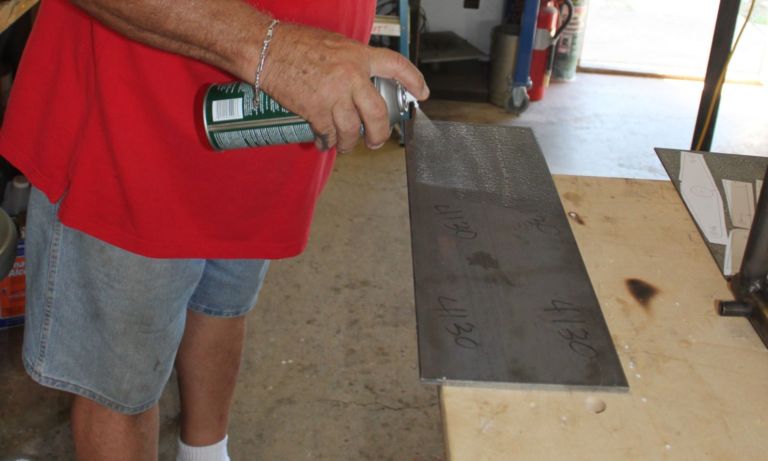
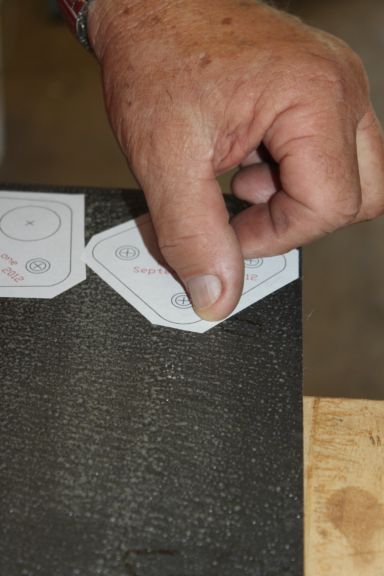
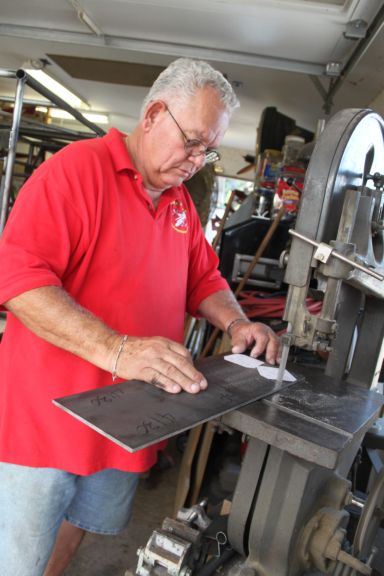
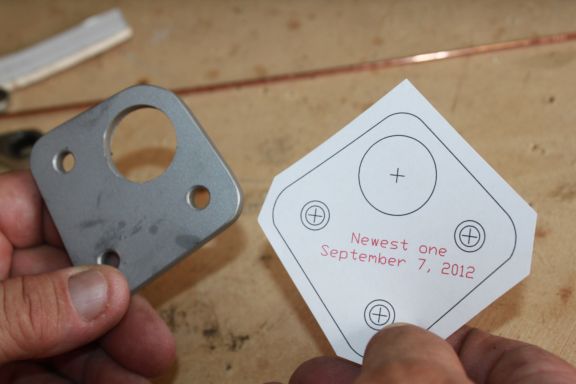
Start with spray-on glue and adhere your pattern to the material to be cut. In this case, I am cutting two identical support pieces and they must stay in perfect alignment or they are no good. I take steps to pin the pieces together before commencing the cuts.
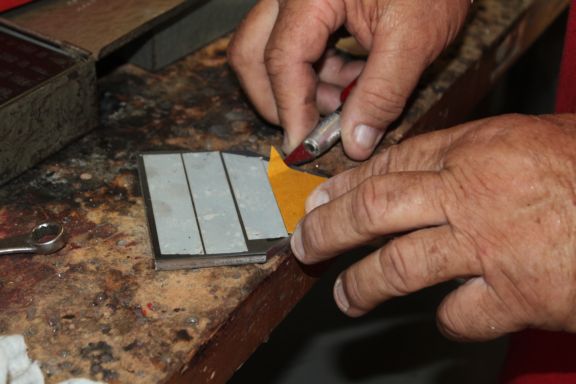
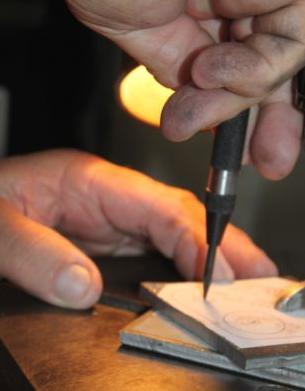
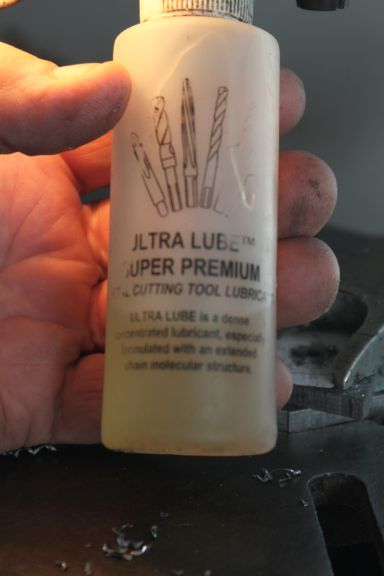
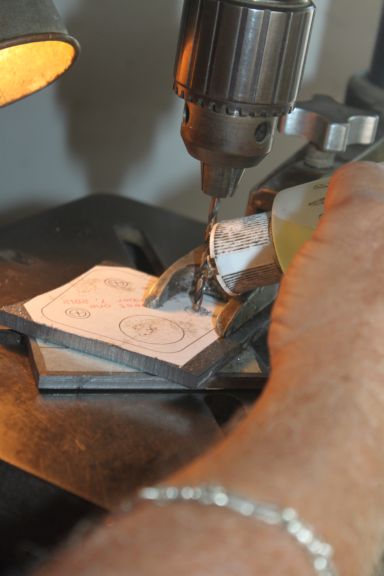
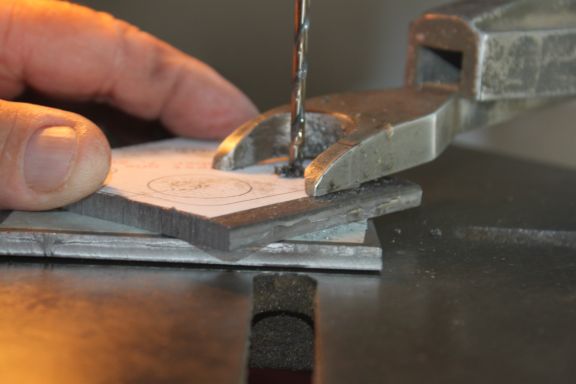
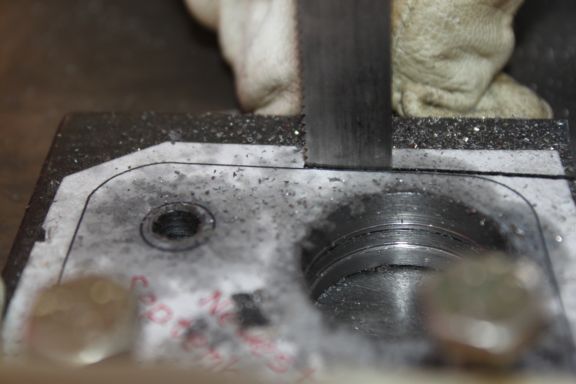
After gluing the patterns on, the pieces are first rough cut, strong two-sided tape is used and they are really bonded together by squeezing them together in a vice. Then the centers for each hold are center-punched, pilot drilled and then fully drilled to sized, being sure to use a super-duty bit lube to prevent burnout of the bits.
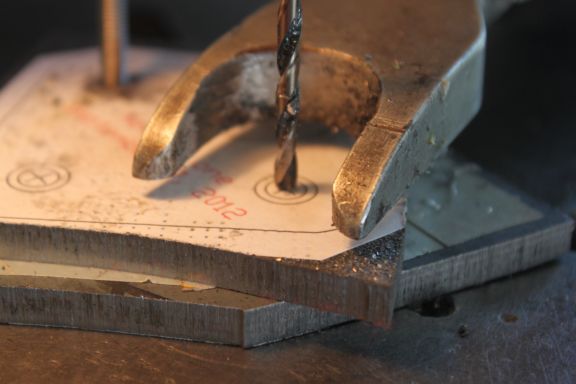
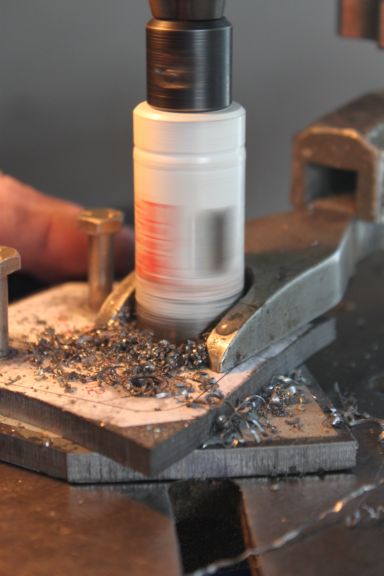
After each hole is drilled, a temporary pin is placed in it and then the next hole is cut. There are three pin holes and one larger hole for the steel tube that runs through the pieces.
I hope you find that these pictures reveal the careful methodology that must be taken to ensure the highest grade craftsmanship of a product.
Tommy
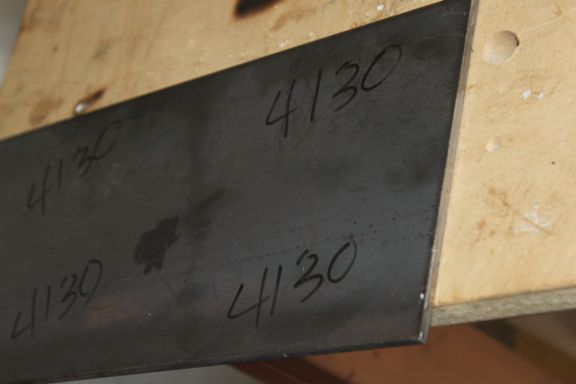
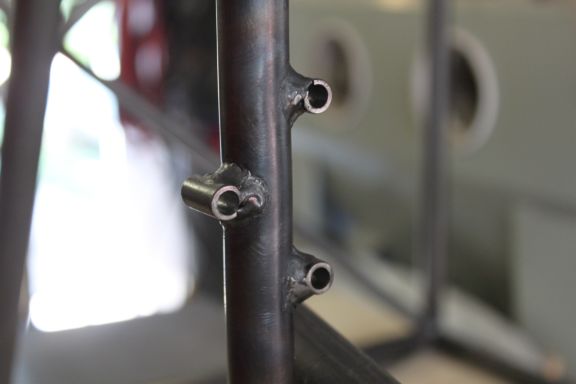
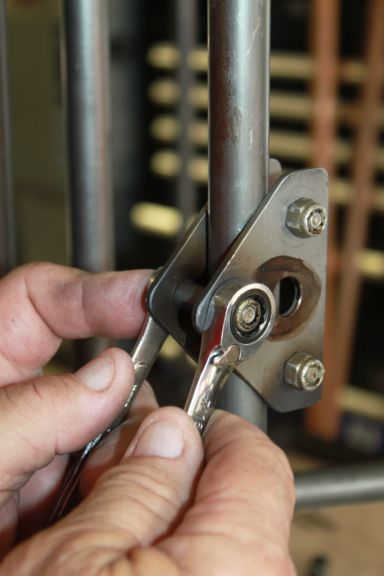
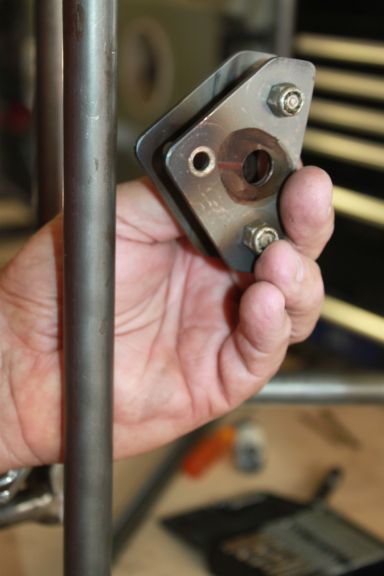
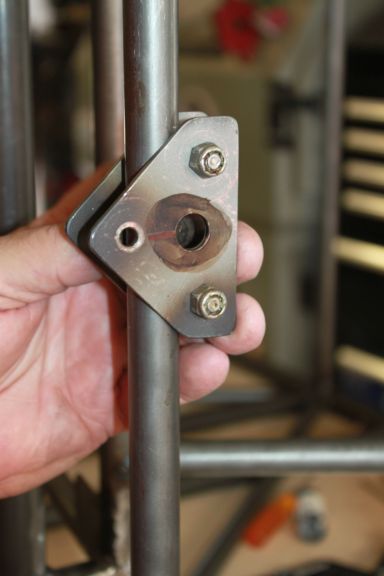
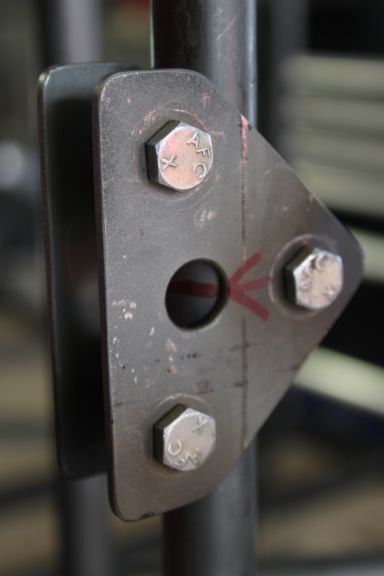
The stick activated aileron control tube will be suspported horizontally from here and will be held by 1/4" AN bolts in these three 3/8" 4130 welded-on steel tubes . The precision of the holes must be exact.
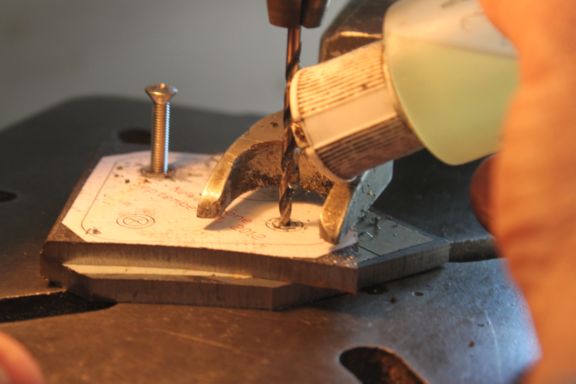
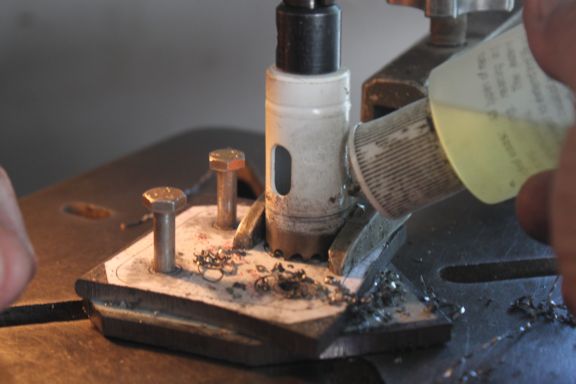
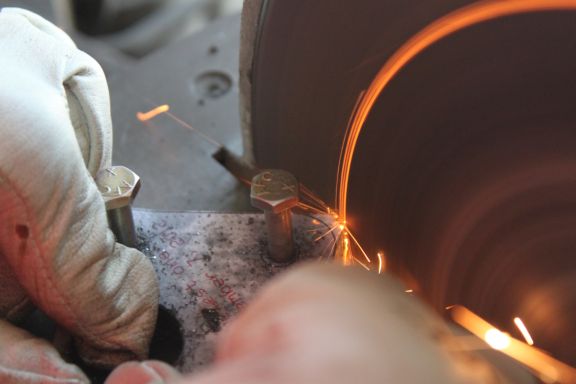
The second hole is about to start. Notice the pin in the first hole in the background.
And now for the third hole; again, a pin is added to the second hole to prevent any, absolutely any, movement.
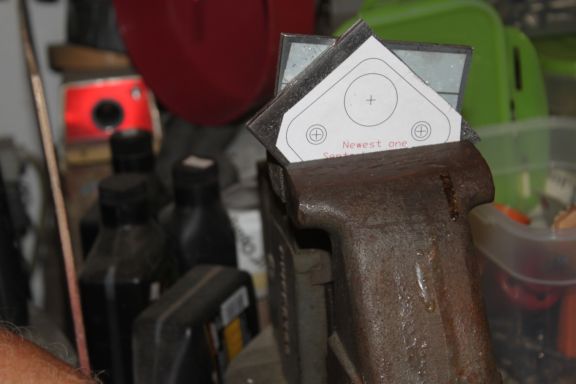
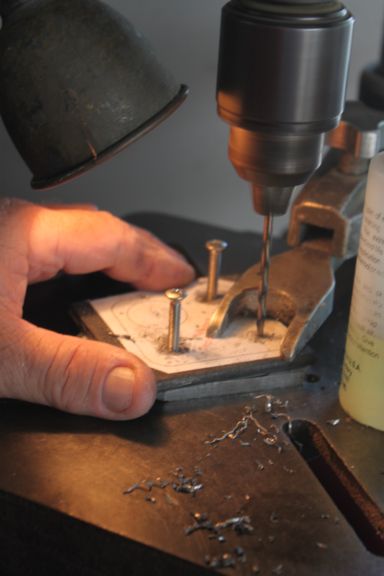
And now the hole for the tube which will support Aircraft Spruce bearing KP5A.
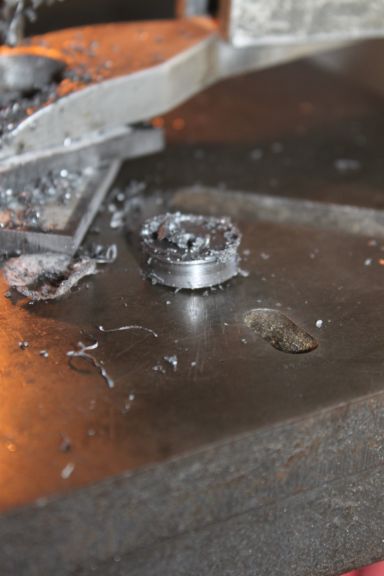
The plug from the upper piece of steel
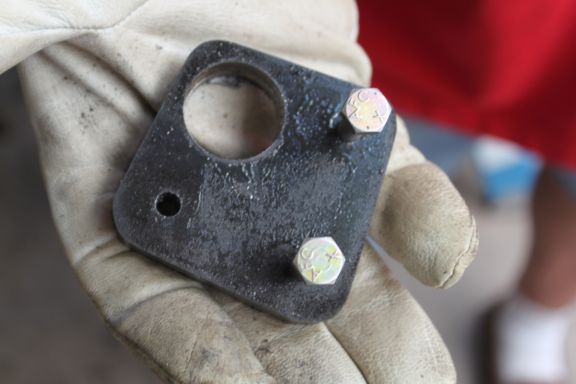
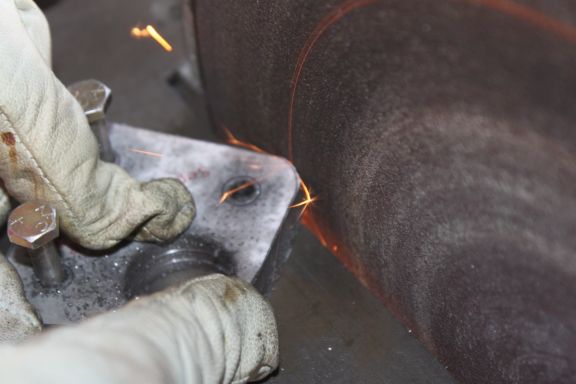
Once the tube holes are complete, separate the pieces of steel, take to the band saw and cut along the patern's outline; leave the line and then grind to smooth the finish.
In the future, these aircraft parts will be CNC-cut.
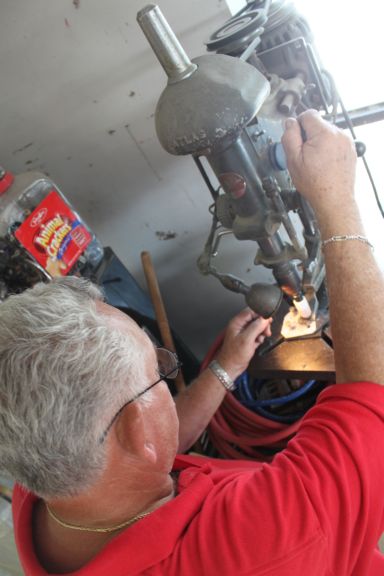
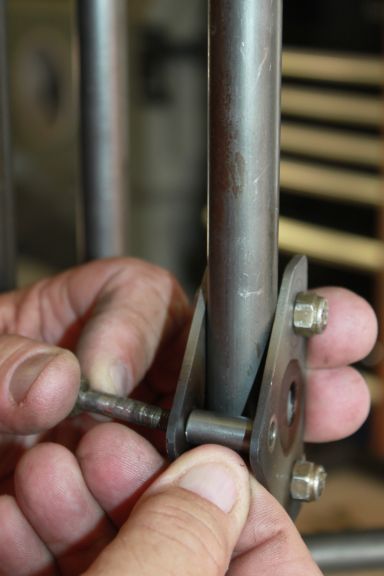
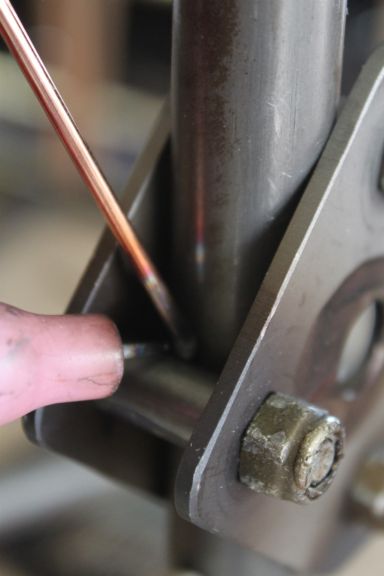
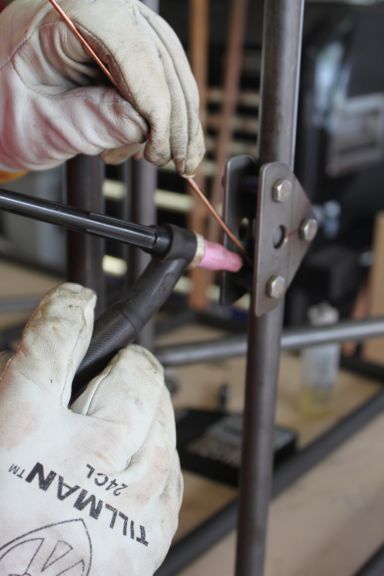
You may have asked, how did those three 3/8" 4130 supports get onto the fuselage tube so precisely? Using another jig to hold them in place for welding. This jig is also on the Meyer Aircraft drawings used for your construction.
As an alternative to making the jigs yourself, these jigs will be available for sale from Meyer Aircraft.
How do you get the pins precisely where they are needed? Here's how, by lineing up the marks on the tube and the jig.
And here's the gap that we needed between the horizontal -lower-fuselage tubing and stick activated aileron control tube; close but not rubbing.
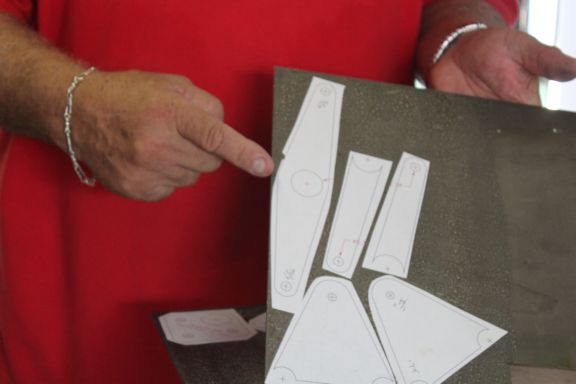
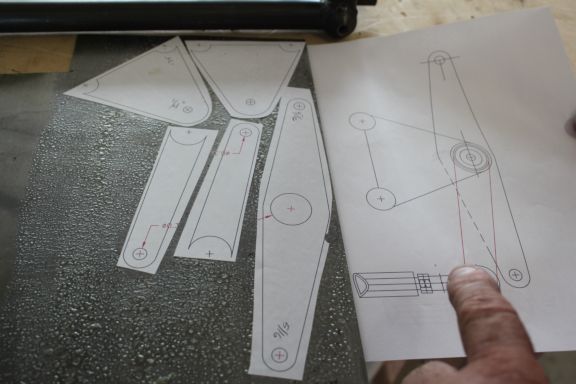
These are the drawings for the elevator control bell crank.
The individual pieces on the left are parts from the drawing on the right.